The idea behind the GNOME desktop is to offer as clean and simple an environment as possible for users. In their quest for simplicity, the GNOME team created a minimal interface that avoids complication and clutter. However, if a user isn’t accustomed to a desktop that’s missing the usual features — desktop menu, panel, etc. — GNOME sometimes can make for a confusing transition from one environment to another.
Also: The top 5 GNOME extensions I install first (and what they can do for you)
That doesn’t make GNOME any less viable. However, if you want a desktop that’s as user-friendly and efficient as what you’re accustomed to, tweaks are available to heighten the level of user-friendliness.
Ready for the big changes? Let’s do it.
1. Dash to Dock
One of the first things I always recommend that users do is install the Dash to Dock extension, which creates a traditional dock (similar to what MacOS offers) from the GNOME Dash. What’s the GNOME Dash? It’s the dock that appears when you click the Show Apps button in the Overview.
Instead of having to first open the Overview to access all of the apps you’ve added as Favorites, with this extension installed, the apps are right there on your desktop at all times. Installing Dash to Dock is as simple as opening Firefox, going to the Dash to Dock page, and clicking Install.
Also: This terminal app uses AI to help you understand the command line
Once you’ve installed it, you’ll find the new dock appears at the bottom of your screen. You can change the position of the dock to the left, right, or top edge of your screen, enable/disable intelligent autohide, change the size of the icons, and more. Consider this extension a must for GNOME.
2. Add minimize/maximize buttons back
This has always baffled me: GNOME developers must have a reason for disabling the minimize and maximize buttons by default. I find it inefficient and confusing. Fortunately, there’s a way to add them back. By default, adding these buttons to windows requires you first open a terminal window and issue the following command:
gsettings set org.gnome.desktop.wm.preferences button-layout ‘appmenu:minimize,maximize,close’
After running the command, you’ll see the Minimize and Maximize buttons are there for you to use.
3. Always-on-top windows
There are certain windows I might always want to be on top of others. One such window is the terminal application. This is especially so when I’m busy running several commands but switching between the terminal and, say, a browser.
Also: How to add AppImages to your Linux desktop menu – this tool makes it a snap
Because the terminal window can be small, it can get lost in a sea of applications. To avoid that, I’ll open the terminal and set it to always be on top. Note: This doesn’t mean it’s always at the top of your display, but it is shown in front of all other windows at all times.
To do that, right-click the title bar for the terminal window and select Always On Top. The window in question will remain on top of all other windows, even if you click on another window. After you close the window you’ve assigned to the top position, it will revert to its default behavior (meaning you’ll have to assign it to the top position again if needed).
4. Alt+Tab vs. Super Key
When you press the Alt+Tab key combination on your keyboard, it will cycle through all of your open apps. Stop on an app and that window will appear. For some, that’s an easy and efficient way of switching between apps. For others, it can be awkward (especially if you’re used to the keyboard/mouse combination).
Also: Spiral Linux offers a handy tool that can keep you from spiraling if you lose a file
If you fall into the latter category, there’s a key you probably tend to ignore on your keyboard, called the Super Key. You might have always known it as the “Windows” Key because it traditionally has had an emblazoned Windows logo. Officially, it’s the Super Key and in GNOME — when you hit it — you see a thumbnail of all your open windows. Click the window you want and — behold! — it’s ready to use.
5. Install GNOME Tweaks and Extensions
There are two apps I always recommend installing: GNOME Tweaks and GNOME Extensions.
GNOME Tweaks offers several configuration options you won’t find in the Settings app, such as middle click paste, expanded font settings, title bar actions and buttons (you can easily add/remove Maximize/Minimize buttons without running commands), window focus, and even add startup applications.
Also: 5 great Android home screen launchers you should check out (and why)
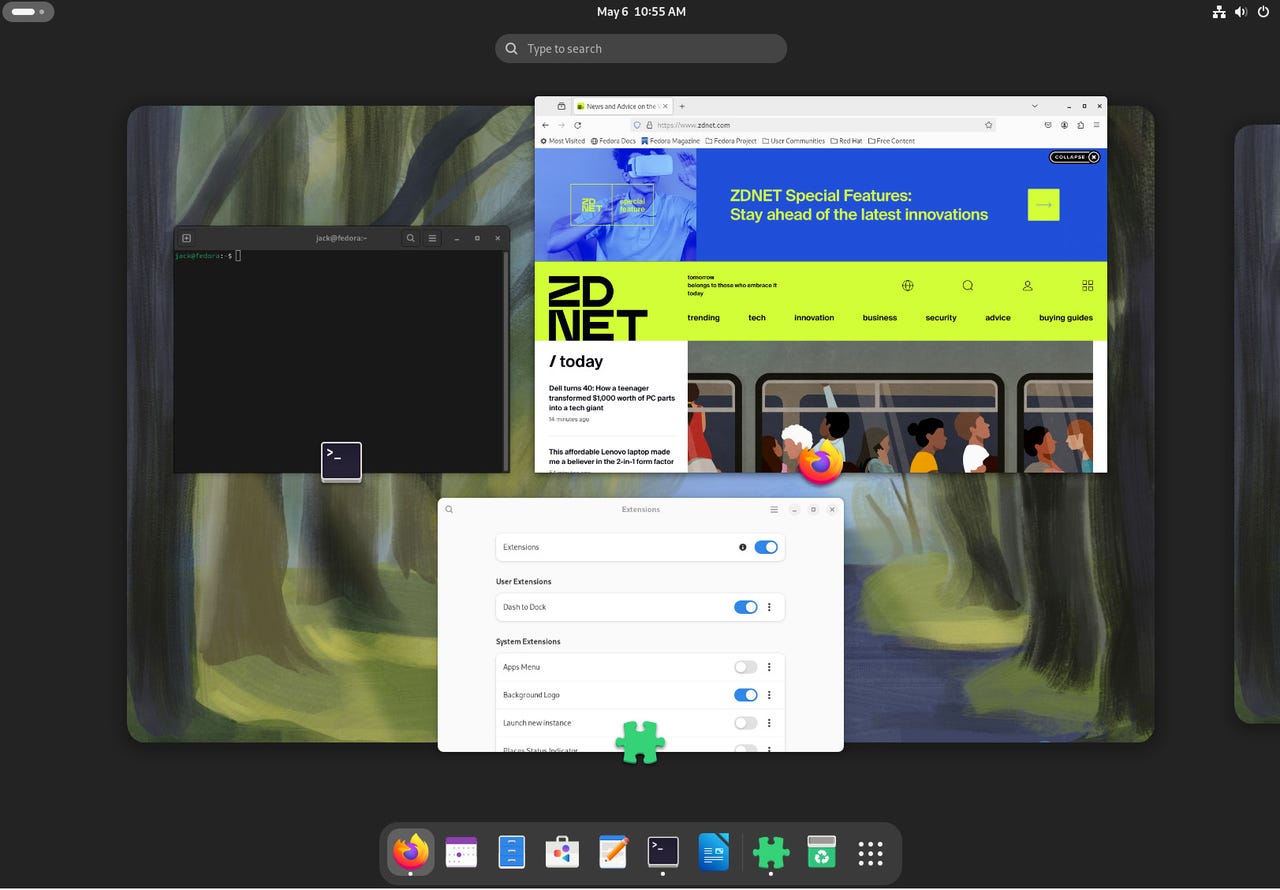
GNOME Extensions gives you quick access to extension configurations and management that you would otherwise have to do through the Firefox web browser. From this handy app, you can also enable/disable system extensions. This is much more user-friendly than having to open your browser, go to the GNOME Extensions page, search for the extension you want to configure, and then configure it. Instead, open GNOME Extensions and have at it.
These two apps can be installed from the GNOME Software app store GUI (and they’re free).
With the above five simple steps, you can make the GNOME desktop environment far more user-friendly and efficient. I use each of these tips for every GNOME desktop I have to use.
Open Source
